Talking chocolate with Ingo Wullaert
Criollos dominated the market until the middle of the eighteenth century but today only a few, if any, pure Criollo trees remain. Caribbean and South America Africa and Nigeria Categories of Cocoa Beans The world cocoa market distinguishes between two broad categories of cocoa beans: Fine or flavor cocoa beans Bulk or ordinary cocoa beans. As a generalization, fine or flavor cocoa beans are produced from Criollo or Trinitario cocoa-tree varieties, while bulk cocoa beans come from Forastero trees. There are, however, known exceptions to this generalization. Nacional trees in Ecuador, considered to be Forastero-type trees, produce fine or flavor cocoa. On the other hand, Cameroon cocoa beans, produced by Trinitario-type trees and whose cocoa powder has a distinct and sought-after red color, are classified as bulk-cocoa beans. The share of fine or flavor cocoa in the total world production of cocoa beans is just under 5% per annum. Virtually all major activity over the past five decades has involved bulk cocoa. Harvesting Cocoa The pods are opened to remove the beans within a week to 10 days after harvesting. In general the Fermentation The fermentation process begins with the growth of micro-organisms. In particular, yeasts grow on the pulp surrounding the beans. Insects, such as the Drosophila melanogaster or vinegar-fly, are probably responsible for the transfer of micro-organisms to the heaps of beans. The yeasts convert the sugars in the pulp surrounding the beans to ethanol. Bacteria then start to oxidize the ethanol to acetic acid and then to carbon dioxide and water, producing more heat and raising the temperature. The pulp starts to break down and drain away during the second day. In anaerobic conditions, the alcohol converts to lactic acid but, as the acetic acid more actively oxidizes the alcohol to acetic acid, conditions become more aerobic and halt the activity of lactic acid. The temperature is raised to Drying The Process of Transforming Cocoa beans into Chocolate Step 1. The cocoa beans are cleaned to remove all extraneous material. Step 3. A winnowing machine is used to remove the shells from the beans to leave just the cocoa nibs. Step 5. The nibs are then milled to create cocoa liquor (cocoa particles suspended in cocoa butter). The temperature and degree of milling varies according to the type of nib used and the product required. Step 6. Manufacturers generally use more than one type of bean in their products and therefore the different beans have to be blended together to the required formula. Step 9. Cocoa liquor is used to produce chocolate through the addition of cocoa butter. Other ingredients such as sugar, milk, emulsifying agents and cocoa butter equivalents are also added and mixed. The proportions of the different ingredients depend on the Step 10. The mixture then undergoes a refining process by travelling through a series of rollers until a smooth paste is formed. Refining improves the texture of the chocolate. Step 12. The mixture is then tempered or passed through a heating, cooling and reheating process. This prevents discoloration and fat bloom in the product by preventing certain crystalline formations of cocoa butter developing. Step 13. The mixture is then put into molds or used for Step 14. The chocolate is then packaged for distribution to retail outlets.  Before we start judging everyday chocolate and origin chocolate, we should first take a closer look at the varieties and qualities of each cocoa bean and how they become chocolate. Names like Grand Cru and single origin chocolate are not necessarily always a guarantee for exceptional quality and taste. A lot has to do with the types of beans and the process of transforming those beans to the chocolate we eat every day. It takes an immense amount of knowledge and technology to create the perfect tasting piece of chocolate.So before we make comments about anything or anybody, it is always wise to know some basic facts.
 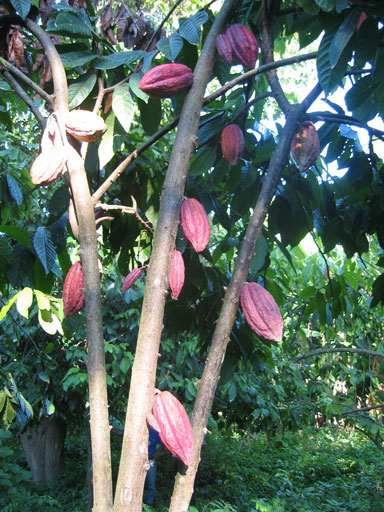 Cocoa Tree Varieties
 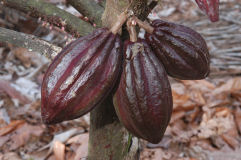 Forastero is a large group containing cultivated, semi-wild and wild populations of which the Amelonado populations are the most extensively planted. Large areas of Brazil and West Africa are planted with Amelonado. Amelonado varieties include, Comum in Brazil, West African Amelonado in Africa, Cacao Nacional in Ecuador and Matina or Ceylan in Costa Rica and Mexico. Recently large plantations throughout the world used Upper Amazon hybrids.
 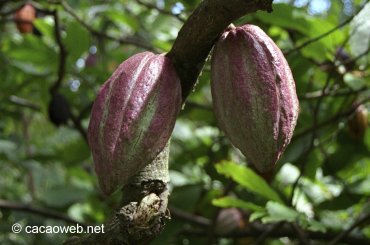 Trinitario populations are considered to belong to the Forasteros although they are descended from a cross between Criollo and Forastero. Trinitario planting started in Trinidad and spread to Venezuela and then was planted in Ecuador, Cameroon, Samoa, Sri Lanka, Java and Papua New Guinea.
 There were attempts to satisfy Spanish domestic demand by planting cacao in Spanish territories like the Dominican Republic, Trinidad and Haiti but these initially came to nothing. More successful were the Spanish Capuchin friars who grew criollo cacao in Ecuador in about 1635. The rush by European, mercantile nations to claim land to cultivate cacao began in earnest in the late seventeenth century. France introduced cacao to Martinique and St. Lucia in 1660, the Dominican Republic in 1665, Brazil in 1677, Guianas in 1684 and Grenada in 1714; England had cacao growing in Jamaica by 1670 and, prior to this, the Dutch had taken over plantations in Curaçao when they seized the island in 1620.
  Later the explosion in demand brought about by chocolate's affordability required yet more cacao to be cultivated. Amelonado cacao from Brazil was planted in Principe in 1822, Sao Tomé in 1830 and Fernando Po in 1854, then in Nigeria in 1874 and Ghana in 1879. There was already a small plantation in Bonny, eastern Nigeria established by Chief Iboningi in 1847, as well as other plantations run by the Coker family and established by the Christian missions. The seeds planted in Ghana were brought from Fernando Po by Tetteh Quarshie or his apprentice Adjah, after previous attempts by the Dutch (1815) and the Swiss (1843) to introduce cocoa in Ghana had failed. In Cameroon, cocoa was introduced during the colonial period of 1925 to 1939.
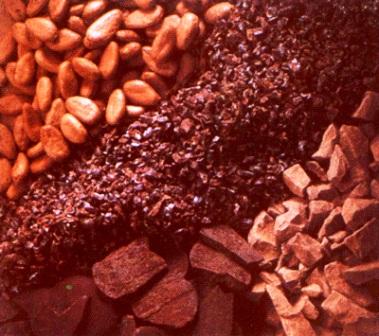
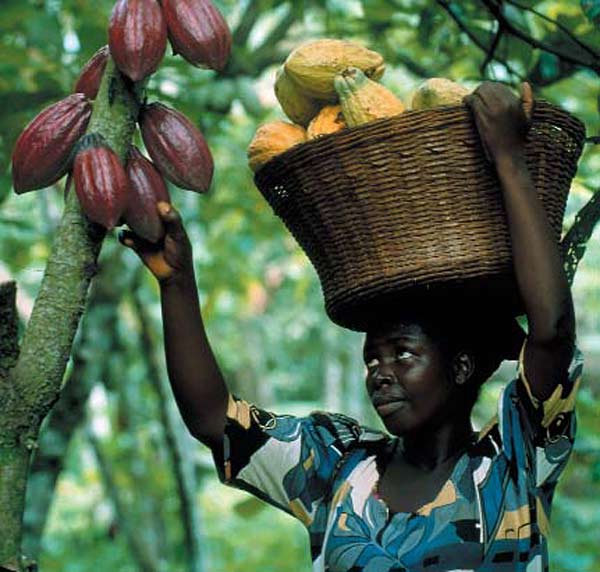 Pods containing cocoa beans grow from the trunk and branches of the cocoa tree. Harvesting involves removing ripe pods from the trees and opening them to extract the wet beans. The pods are harvested manually by making a clean cut through the stalk with a well sharpened blade. For pods high on the tree, a pruning hook type of tool can be used with a handle on the end of a long pole. By pushing or pulling according to the position of the fruit, the upper and lower blades of the tool enable the stalk to be cut cleanly without damaging the branch which bears it.
 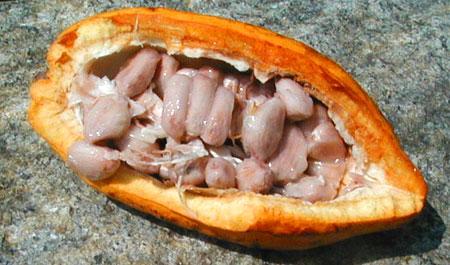 harvested pods are grouped together and split either in or at the edge of the plantation. Sometimes the pods are transported to a fermentary before splitting. If the pods are opened in the planting areas the discarded husks can be distributed throughout the fields to return nutrients to the soil. The best way of opening the pods is to use a wooden club which, if it strikes the central area of the pod, causes it to split into two halves; it is then easy to remove the wet beans by hand. A cutting tool, such as a machete, is often used to split the pod though this can damage the beans. Some machinery has been developed for pod opening but smallholders in general carry out the process manually. After extraction from the pod the beans undergo a fermentation and drying process before being bagged for delivery.
 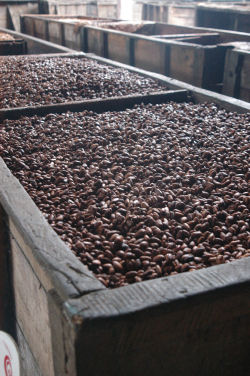 Fermentation can be carried out in a variety of ways, but all methods depend on removing the beans from the pods and piling them together or in a box to allow micro-organisms to develop and initiate the fermentation of the pulp surrounding the beans. The piles are covered by banana leaves.
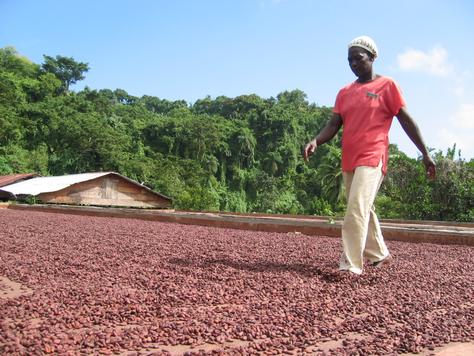 40oC - 45oC during the first 48 hours of fermentation. In the remaining day’s bacterial activity continues under increasing aeration conditions as the pulp drains away and the temperature is maintained. The process of turning or mixing the beans increases aeration and consequently bacterial activity. The acetic acid and high temperatures kill the cocoa bean by the second day. The death of the bean causes cell walls to break down and previously segregated substances to mix. This allows complex chemical changes to take place in the bean such as enzyme activity, oxidation and the breakdown of proteins into amino acids. These chemical reactions cause the chocolate flavor and color to develop. The length of fermentation varies depending on the bean type; Forastero beans require about 5 days and Criollo beans 2-3 days.
 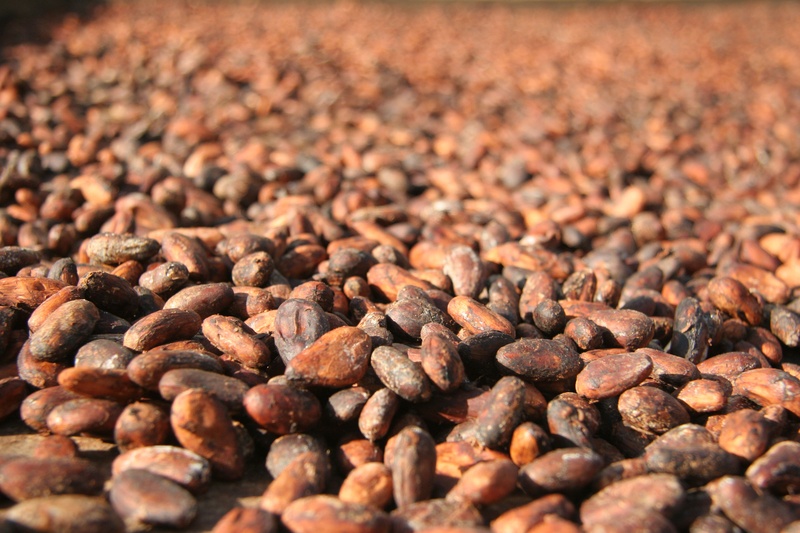 Cocoa beans are dried after fermentation in order to reduce the moisture content from about 60% to about 7.5%. Drying must be carried out carefully to ensure that off-flavors are not developed. Drying should take place slowly. If the beans are dried too quickly some of the chemical reactions started in the fermentation process are not allowed to complete their work and the beans are acidic with a bitter flavor. However, if the drying is too slow molds and off flavours can develop. Various research studies indicate that bean temperatures during drying should not exceed 65oC. There are two methods for drying beans - sun drying and artificial drying.
  Step 2. To bring out the chocolate flavor and color the beans are roasted. The temperature, time and degree of moisture involved in roasting depend on the type of
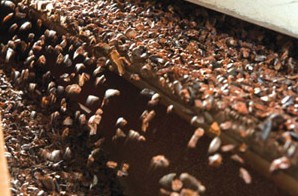 beans used and the sort of chocolate or product required from the process.
  Step 4. The cocoa nibs undergo alkalization, usually with potassium carbonate, to develop the flavor and color.
 Step 7. The cocoa liquor is pressed to extract the cocoa butter leaving a solid mass called cocoa press cake. The amount of butter extracted from the liquor is controlled by the manufacturer to produce press cake with different proportions of fat.
 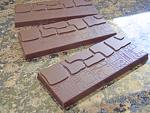 Step 8. The processing now takes two different directions. The cocoa butter is used in the manufacture of chocolate. The cocoa press cake is broken into small pieces to form kibbled press cake which is then pulverized to form cocoa powder.
 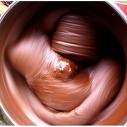 type of chocolate being made.
  Step 11. The next process, conching, further develops flavour and texture. Conching is a kneading or smoothing process. The speed, duration and temperature of the kneading affect the flavor. An alternative to conching is an emulsifying process using a
 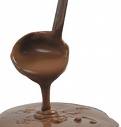 machine that works like an egg beater.
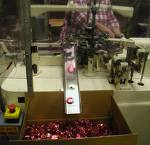 enrobing fillings and cooled in a cooling chamber.


